"Nimbus on Android: Part 3/Validatoring"


Hi folks, it's been a while but it's time to finally wrap up the series on Nimbus on Android. We left off in Part 2 with getting the Nimbus Eth2 beacon node up and running. If it's been a while or if you're starting fresh, check out that post for how to get the environment set up and Nimbus built.
If you already have Nimbus built but haven't touched it in a while like me, you'll first need to run the below commands to make sure Nimbus is up to date.
cd nim-beacon-chain
git pull
make update
Let this run until it completes.
Better yet, let's just start over since the code has probably changed enough since the last time we ran this that it's just easier to blow it all away and start fresh.
rm -rf nim-beacon-chain
git clone https://github.com/status-im/nim-beacon-chain.git
At present, the Nimbus Eth2 client has both the beacon node and validator client combined in one application so to start participating in the Eth2 network as a validator, we follow the same process as last time.
Run make altona to connect to the altona multiclient testnet. If you see something like this error:
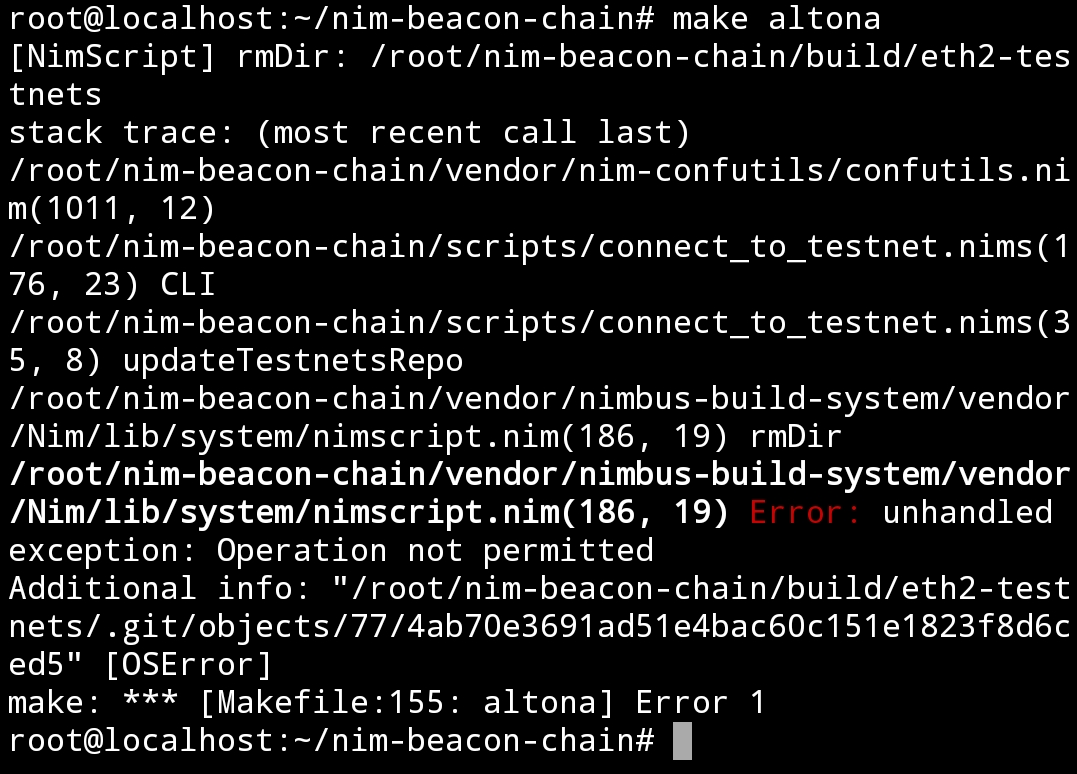
then do the below to resolve the error. You may have to do it twice if Termux throws additional errors around not being able to delete certain subdirectories.
rm -rf build/eth2-testnets
The make altona script removes some old build directories as part of the make recipe and Termux has certain limitations when running a proot that disallow scripts from this action so you may have to do it manually.
Once the script runs successfully, it's time to make our deposit and become a validator!
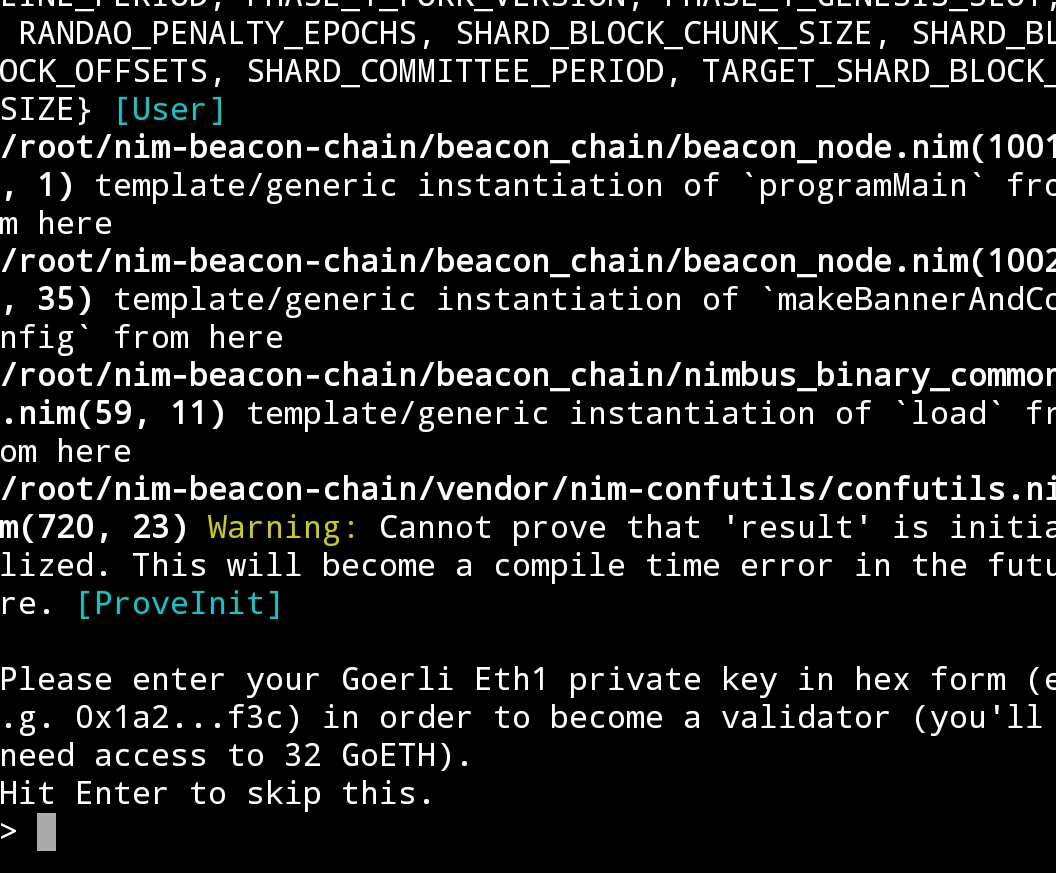
As a reminder, to be a validator on Eth2, you need to deposit 32 Eth into the validator contract on Eth1. The Nimbus testnets monitor an Eth1 deposit contract on the Goerli testnet so you need GoEth for the deposit. If you don't already have said GoEth, you've got 3 basic options to gget the GoEth needed to continue on your quest for world validation.
- 1
- 2If you don't have or don't want to use a social media account to leverage the authenticated faucet, you only need to click 640 times on the unauthenticated faucet and you'll be ready to go
- 3
Once you've got your GoEth, paste the private key associated with that account into Termux. Make sure your key is in hexidecimal format and put 0x in front of it like 0xmyHexidecimalPrivateKey. If alll goes well, you should see:
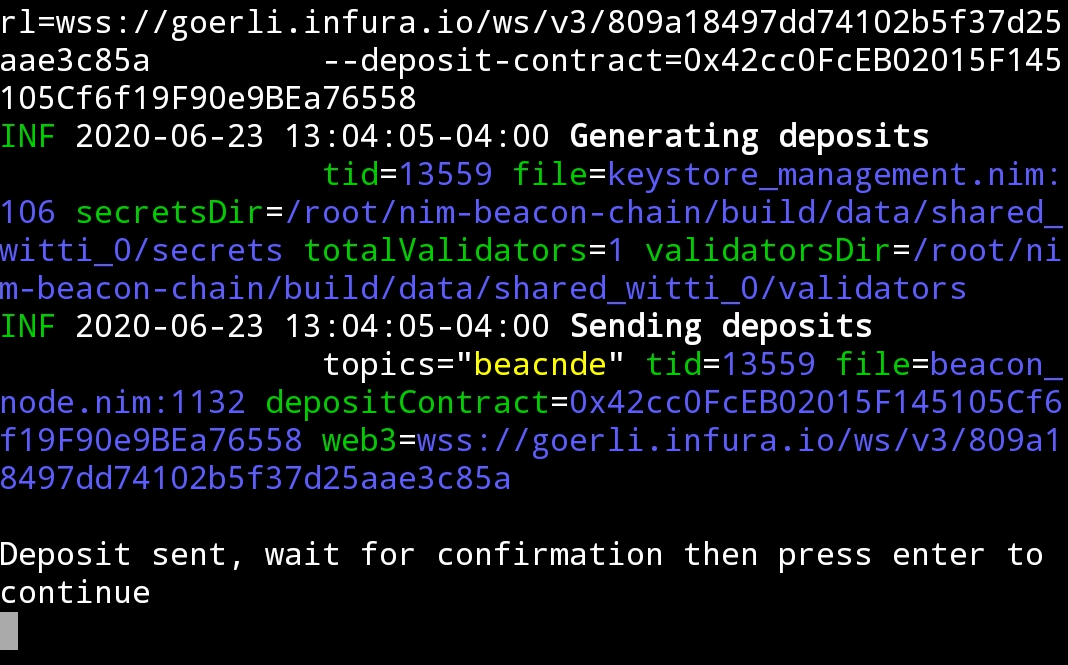
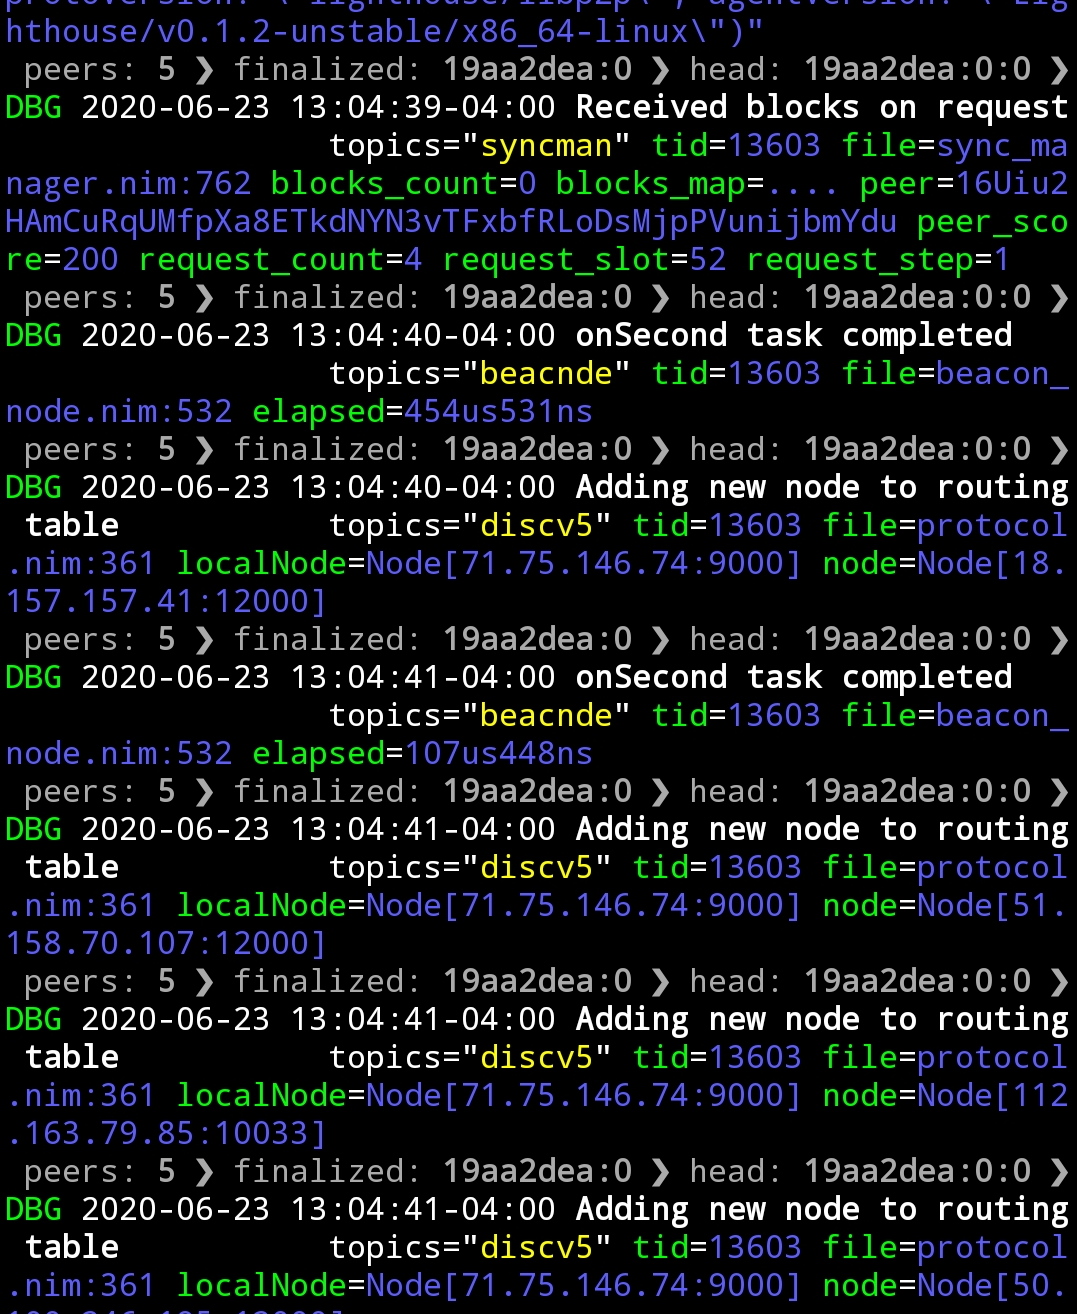
Once your transaction is successful, hit enter and you are officially able to start helping build the Eth2 (testnet) consensus. Welcome to the future!
![]()
If you need a straightforward way to get your private key on Android, check out the Metamask app. It's still in beta but it will provide your private key in hexidecimal format. Just go to Settings -> Security and Privacy -> Private Key and copy the string it provides.
