Building Nimbus on Android: Part 2 / Eth 2


I'm back. If you read my last article, then you know that Nimbus is not just for your desktop. That said, you're probably asking yourself, "Why do I care about running Nimbus on my phone inside a Linux sandbox?" Running an Ethereum 1.0 node on an ARM device is so 2017. And, given the current size of the Ethereum 1.0 chain (2.12GB as of this writing), you're probably right.
What you're really asking is, "How can I get in the Eth 2.0 game? What I really want to do is run a Nimbus beacon node on the new open testnets!" If you asked this question, you have come to the right place.
Note: Before diving into the fun, I want offer a friendly reminder that the steps below require downloading a rather large amount of data so only do this when your Android device is connected to WiFi if you have a limited cellular data plan.
Before we go anywhere, follow the Termux and Ubuntu on Termux sections of my previous article to get your Linux sandbox ready to play in.
Before we get started, start the Termux app and then open up the Ubuntu proot as discussed in the previous article.
Like with Nimbus for Eth 1.0, we have a few external dependencies to grab first.
apt install build-essential, git libpcre3-dev
Next, clone the Nimbus Beacon Chain repo.
git clone https://github.com/status-im/nim-beacon-chain
cd nim-beacon-chain> []
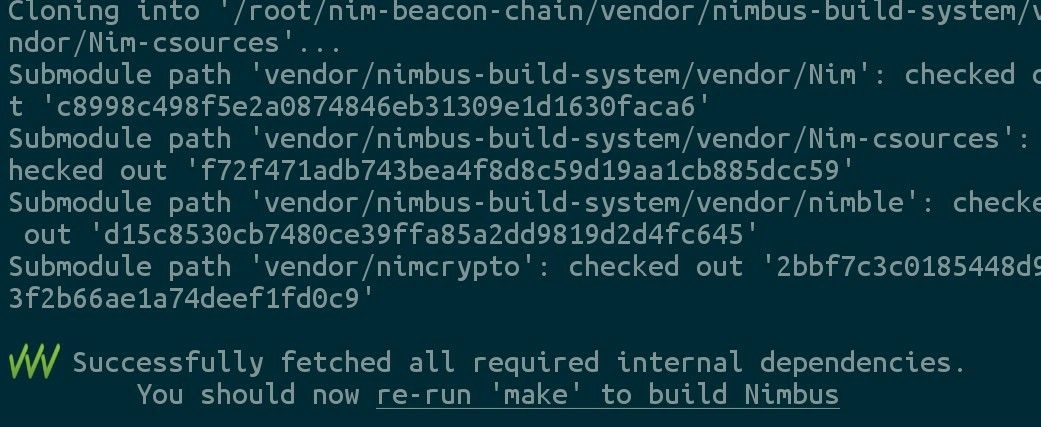
Run make and Nimbus will compile and build out all the necessary internal Nim dependencies. You should see the below message once everything is done.
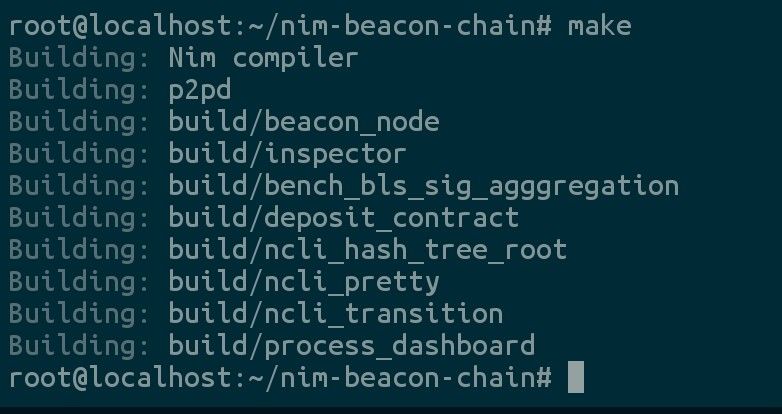
Now, like the instructions say, run make again to actually compile Nimbus for Eth 2.0. Now, go grab a cup of coffee as this will take a while. It took my OnePlus 6T something like 20-30 minutes to finally finish. You should see this output once it's finished.
Now that we've got Nimbus built, let's explore what you can do with it.
Let's start small. You can run an entire simulated Eth 2.0 testnet on your phone, beacon nodes, validators, Eth 2, oh my!
make VALIDATORS=192 NODES=6 USER_NODES=1 eth2_network_simulation
This command will fire up a local Eth 2 network with 192 validators and 7 beacon nodes, one of which you can bring up on your own to see the sync process in action.
Open a second terminal in Termux, and open the Ubuntu proot in this terminal as well. The below steps will set appropriate environment variables and start up the user beacon node referenced above.
./env.sh
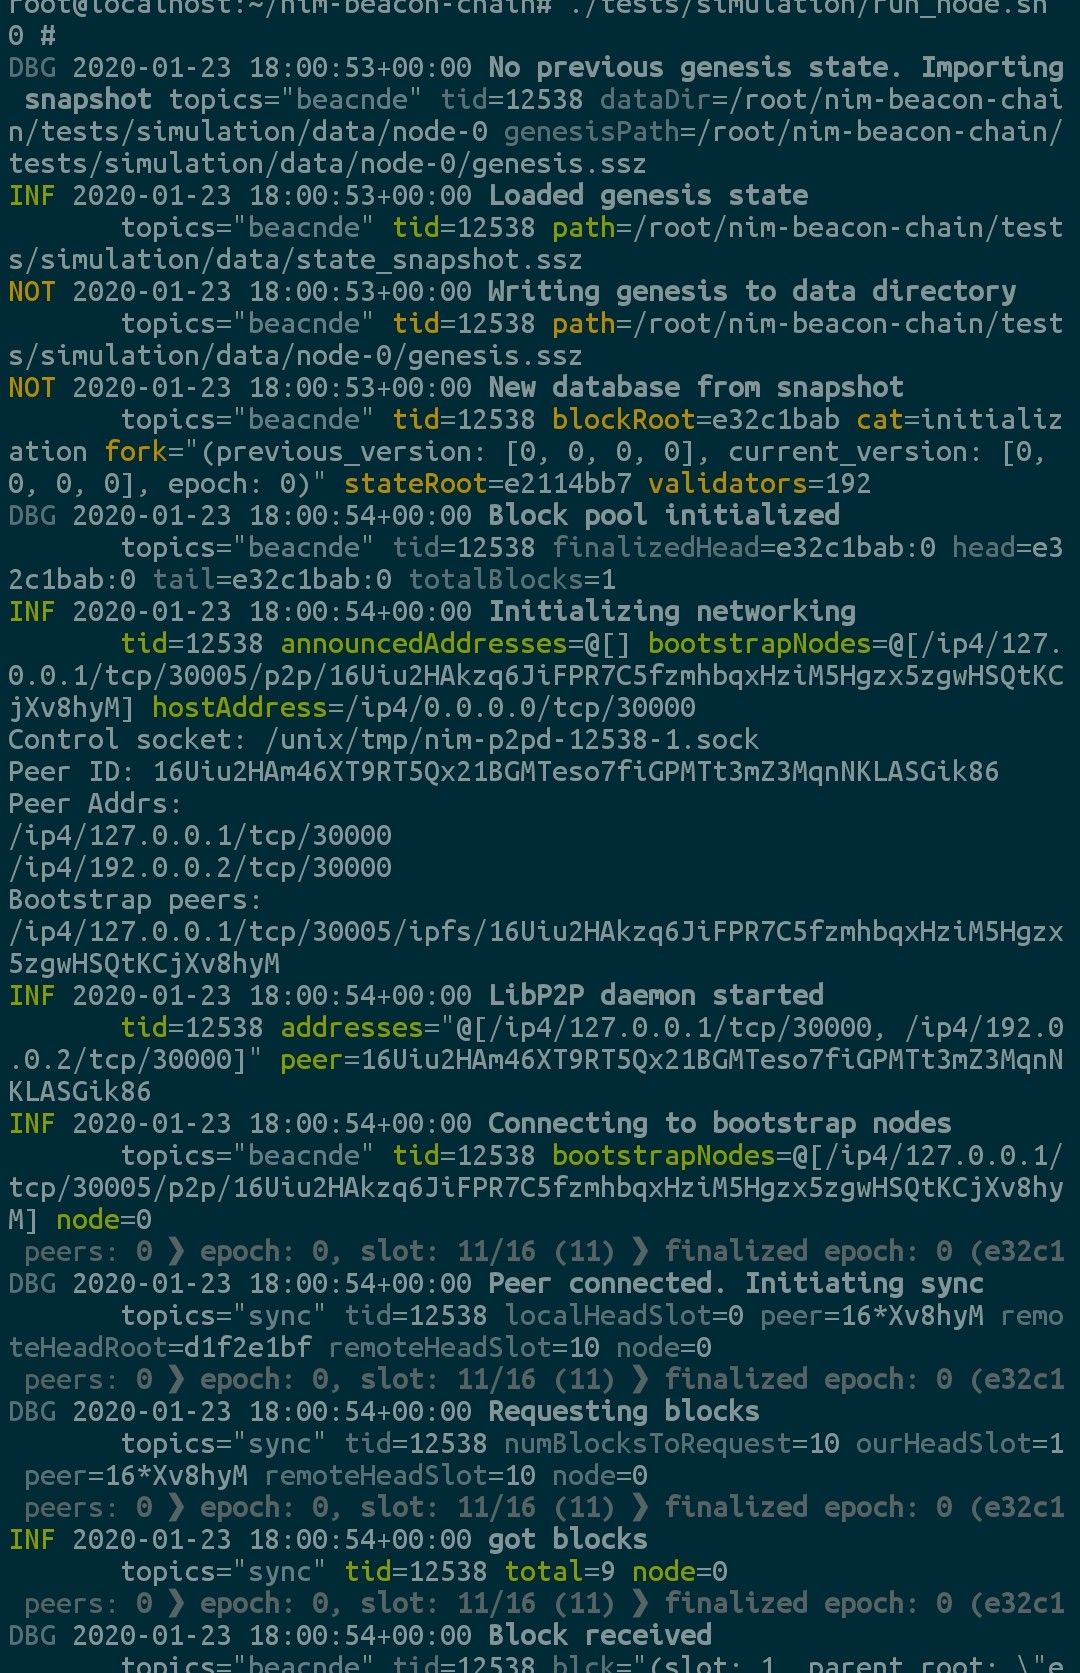
./tests/simulation/run_node.sh 0 #
Here you can see the user node starts up, joins the network, and starts getting blocks to sync the chain.
Now, let's talk to some other nodes.
Run make testnet0 to fire up your Nimbus beacon node and join testnet0.
Nimbus will prompt you for your Goerli Eth1 private key to to become a validator.
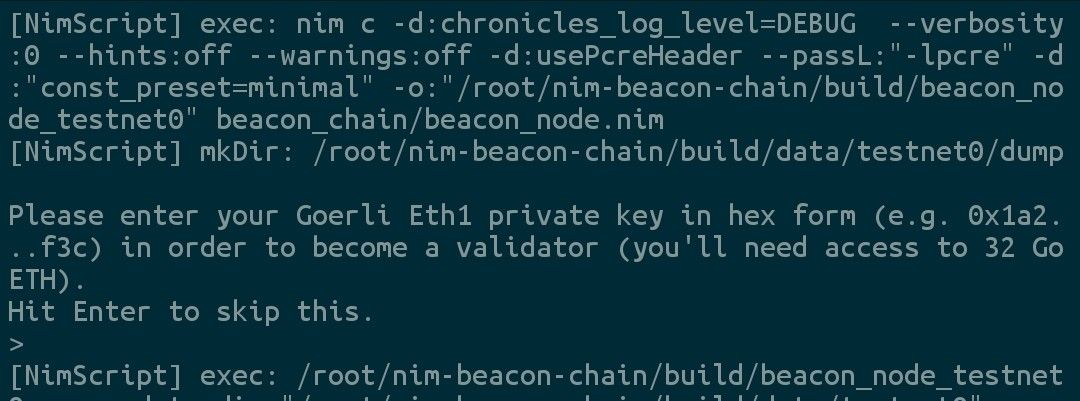
Just press Enter to skip for now as we're just going to run a beacon node.
drum roll
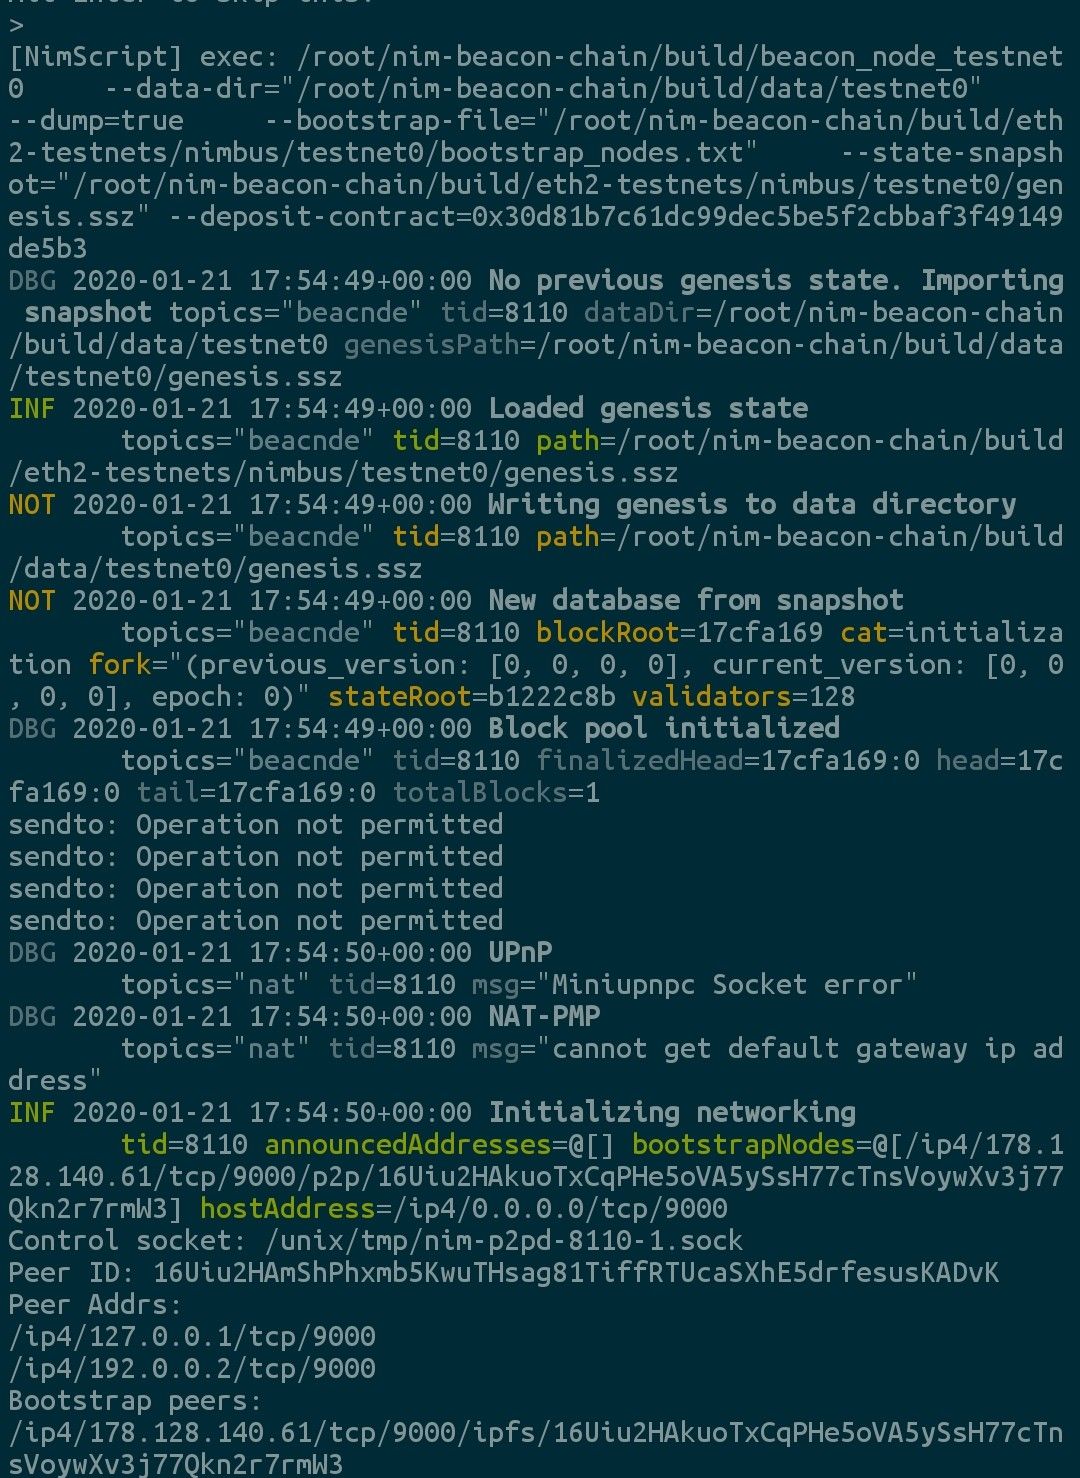
We're off, genesis block received, block pool up and running, looking for peers.
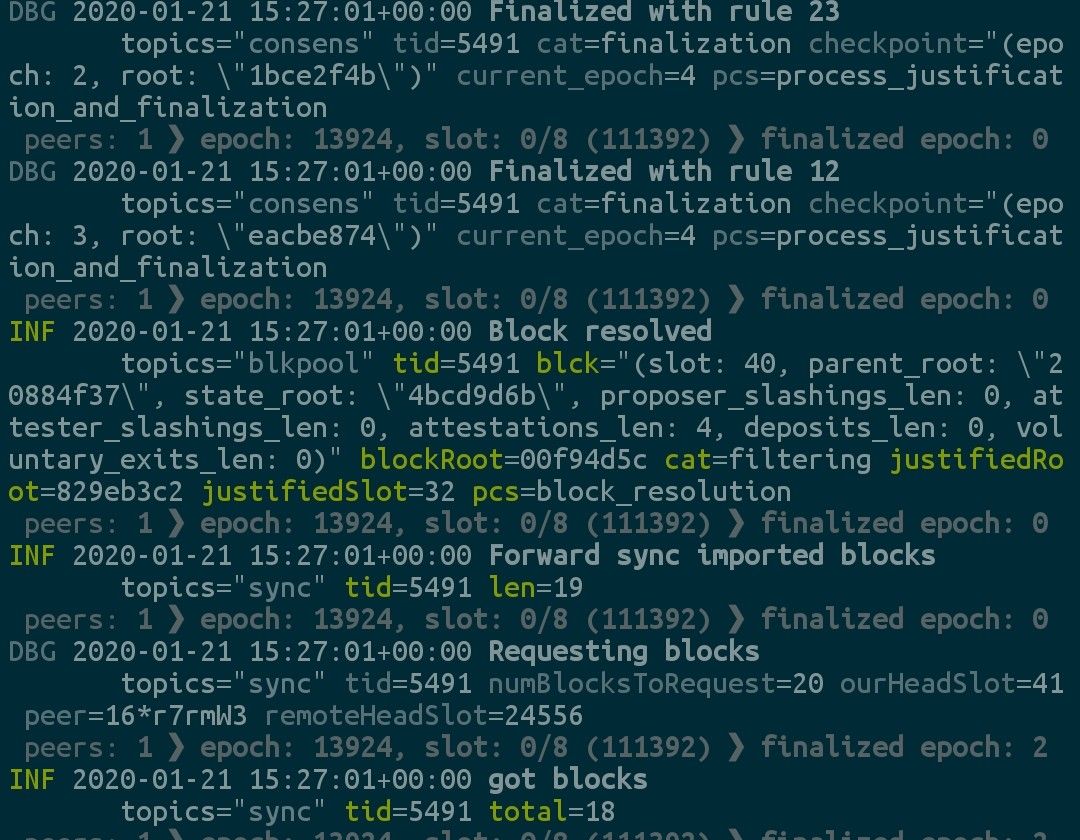
Now we're making history, syncing blocks, participating in consensus, helping secure the network, enforcing fork choice rules, building the future, all from the comfort of a phone.
Next tutorial: Nimbus on Android: Part 3 / Validatoring


